Import Git Project into Eclipse

Third article of Eclipse IDE Plugins is about importing a Git project into Eclipse using EGit. This is useful when working with such project that are placed in public places such as GitHub or if you are working on project which has many developers.
To follow this tutorial you have to have Eclipse installed on your operating system and EGit. If you haven’t installed EGit, you can follow the first Eclipse tutorial which shows how to install an Eclipse Plugin.
You also have to have configured EGit which I have shown on the second Eclipse tutorial.
Importing a Git Project into Eclipse #
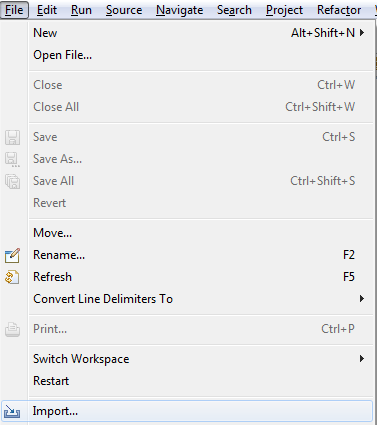
Start Eclipse and go to the File menu and choose Import.
Git Project #
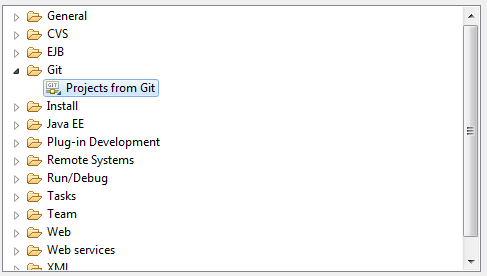
Surf in the Import menu to Git and select Projects from Git
URI #
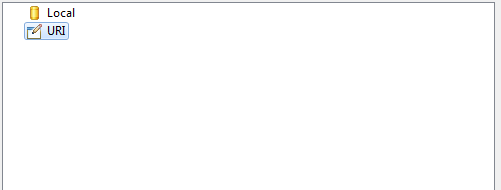
Depending on the situation, but on this tutorial I will show you the way for URI. So choose URI at this point.
Configurations #
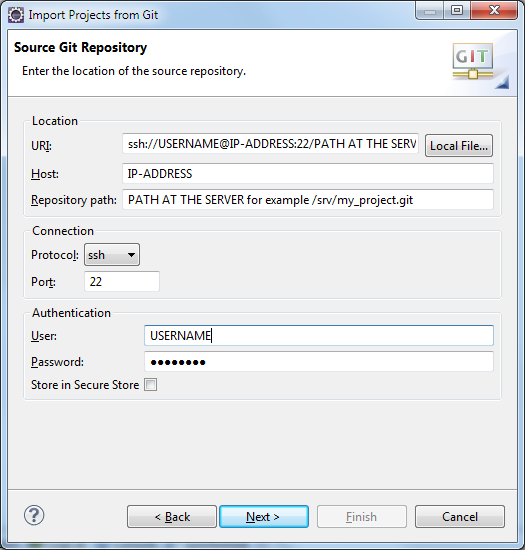
Here you see example data how to write the configurations, I’m using ssh as a protocol as it is most widely used. Click next when you are done editing and Eclipse will try to connect and fetch for Git repository.
Repositories #
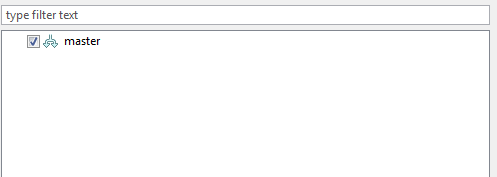
Depending on the found Git repositories, you will see the repositories here.
Directory #
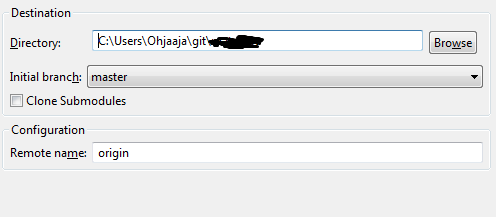
Next we choose the directory where to place our local Git repository. I use the default one.
Importing to Eclipse #
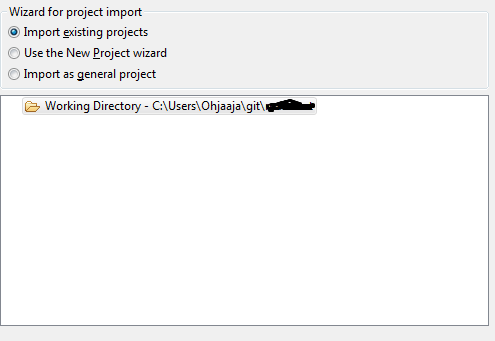
Eclipse asks how would you like to import the project. The usual way for Eclipse projects is to import it as an existing project.
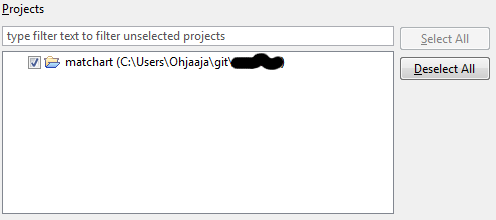
Just select here the project you are importing and Eclipse imports the project.
Importing Finished #
Now if we go right click our imported project and go to Team we will see all the important Git functions.
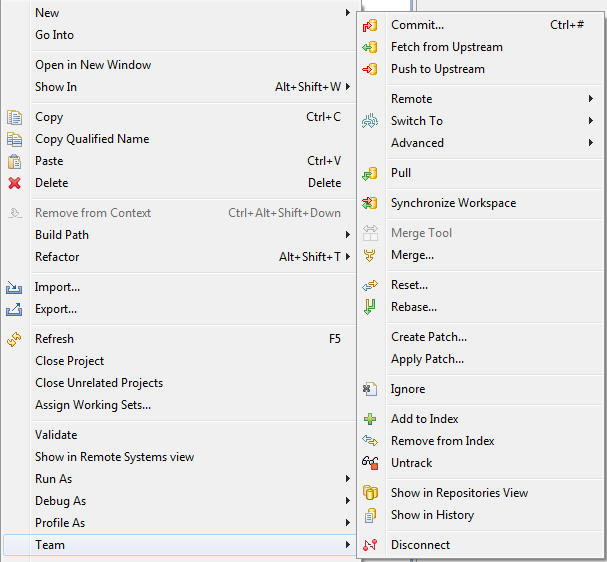
Using EGit #
-
Commit – When you want to make a commit, select Commit and window will popup which asks for files to commit.
-
Push to Upstream – When you have made a commit, you can Push those changes to the server with this command. Username and Password are needed to use this command.
-
Fetch from Upstream – When you want to update your project with the latest commits someone else have made to the Git repository, you have to use this command. Usename and Password are needed for this command. Remember to use Pull after this.
-
Pull – If you have fetched some changes from the Upstream, you have to Pull these changes to Eclipses working project. Usename and Password are needed.
-
Show in History – This one shows you the history and made changes in the project on its lifetime.
You can get around with these commands in the world of Git and Eclipse, if you get some special needs, I’m sure you will find answers pretty fast with some Googling.
I hope these Eclipse Plugins tutorials have been helpful and maybe you have learnt how to use Git, it’s a very good tool in version controlling and preventing disasters in software development. Of course there are some bad things but you will eventually find those yourself.